
FH Web Encryption (SSL Transport)
Creating an Internal Certificate Authority
FH Web provides this documentation soley as a reference. The responsibility for successful certificate creation rests with the client.
Creating a CA Key and Certificate:
This page details how to create a certificate authority, how to sign server certificates from the created certificate authority, how to enable Secure Socket Layer (SSL) transport in the FH Web Edition Connection Manager. During this process, a total of nine files are created: ca.key, ca.csr, ca.crt, ca.cfg, ca.serial, server.cfg, server.key, server.crt, and server.csr.Step 1: Install OpenSSL on the FH Web server
OpenSSL can be downloaded from http://www.slproweb.com/products/Win32OpenSSL.html. Select Win32_OpenSSL_v0.9.8q (8MB download) from the ‘Download Win32 OpenSSL’ section. Following the download, run the executable (Win32OpenSSL-0_9_8q.exe).
Install Screen 1: Click Next >
Install Screen 2: Select the radio button for ‘I accept the agreement’ and Click Next >
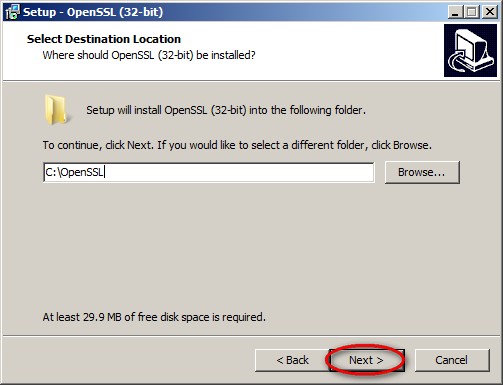
Install Screen 3: Select a destination for the install and Click Next >
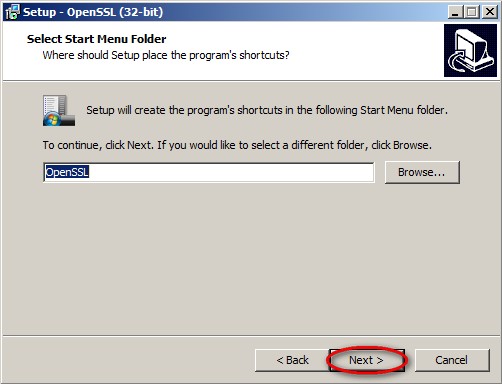
Install Screen 4: Select a Start Menu folder and Click Next >
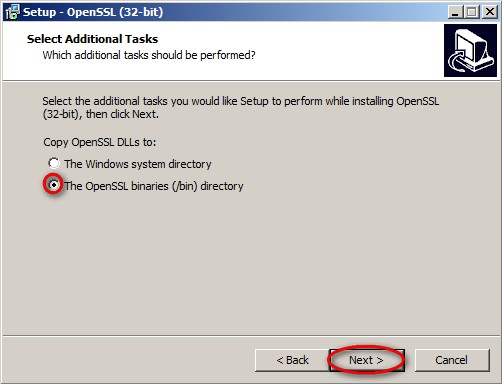
Install Screen 5: Select either option (/bin is shown in image) and Click Next >
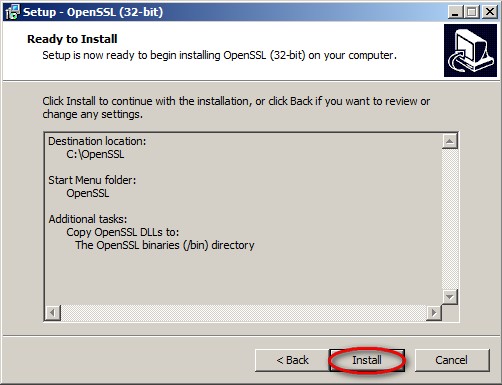
Install Screen 6: Review the selected options and Click Install

Install Screen 7: Wait for it…

Install Screen 8: Click Finish
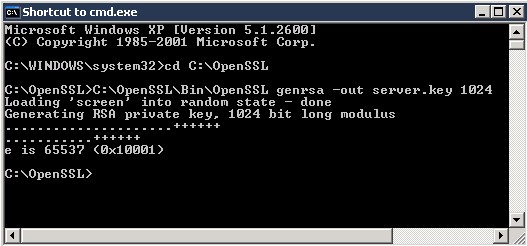
Step 2: Generate an RSA Private Key
The first step in establishing a certificate authority is to generate an RSA key. This key should be kept very secret. Any entity with access to this key could generate false certificates. To generate the CA key:
- Select Start
- Select Run
- Type CMD and click OK
- Type CD C:\OpenSSL and click ENTER
- Type C:\OpenSSL\Bin\OpenSSL genrsa –out ca.key 1024 and click ENTER

RSA Private Key Screen 1: Successful creation of CA.KEY
- If you browse to C:\OpenSSL, you should now see a file CA.KEY located in that directory.
- Leave your CMD.EXE window open and continue to the next step.
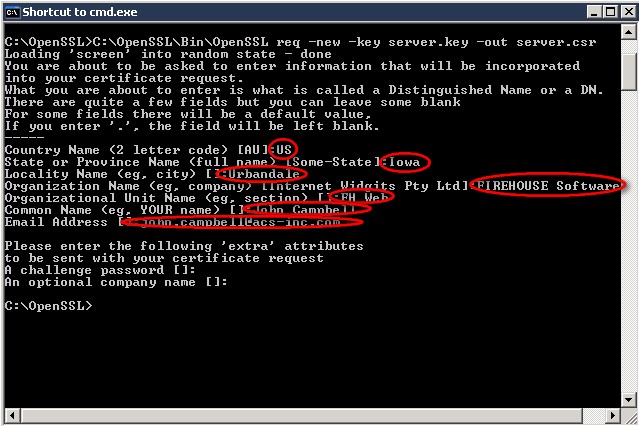
Step 3: Generate a Certificate Signing Request (CSR)
After the CA.KEY is created, our next step is to generate a Certificate Signing Request (CA.CSR). To generate the CSR, execute the following command in CMD.EXE:
- C:\OpenSSL\Bin\OpenSSL req –new –key ca.key –out ca.csr
- You will be required to fill out the information listed below (see screenshot below):
Country Name (2 Letter Code)
State or Province Name
Locality Name
Organization Name
Organizational Unit Name
Common Name (Your Name)
Email Address
A challenge password (optional)
An optional company name (optional)
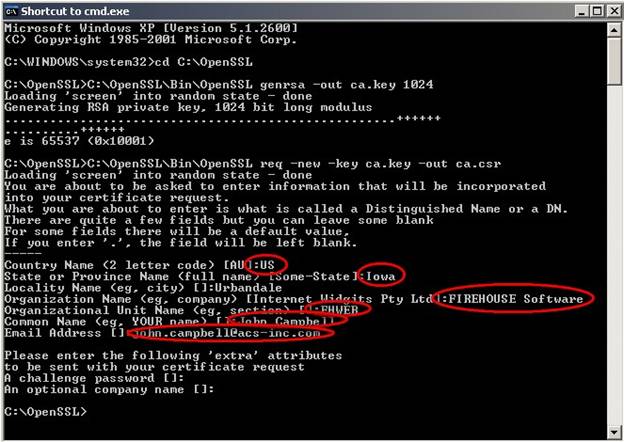
CA CSR Screen 1: Successful creation of CA.CSR
- If you browse to C:\OpenSSL, you should now see a file CA.CSR located in that directory.
- Leave your CMD.EXE window open and continue to the next step.
Step 4: Create a CA.CFG Settings File
After the CA.CSR is created:
- Use notepad.exe to create a settings file named CA.CFG. The file should contain the following:
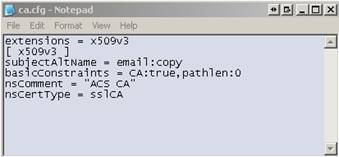
CA.CFG Screen 1: Sample contents of CA.CFG
- Save the file to C:\OpenSSL
- Continue to the next step
Step 5: Sign and Create your CA Certificate
After the CA.CFG is created, our next step is to generate sign the CA certificate. To accomplish this, execute the following command in CMD.EXE:
- C:\OpenSSL\Bin\OpenSSL x509 –req –extfile ca.cfg –days 1825 –signkey ca.key –in ca.csr –out ca.crt (command should be completed without line breaks).
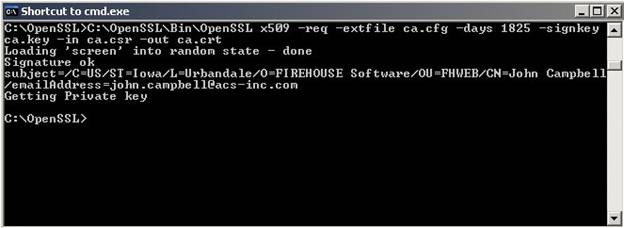
CA.CRT Screen 1: Successful creation of CA.CRT
- If you browse to C:\OpenSSL, you should now see a file CA.CRT located in that directory.
- Leave your CMD.EXE window open and continue to the next step.
Step 6: Create a SERVER.CFG Settings File
After the CA.CTR is created:
- Use notepad.exe to create a settings file named SERVER.CFG. The file should contain the following:
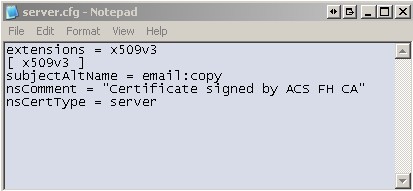
Server.CFG Screen 1: Sample contents of SERVER.CFG
- Save the file to C:\OpenSSL
- Continue to the next step
Step 7: Create a CA.SERIAL to store the total number of certificates
The next step is to create a file to store the serial numbers of certificates signed by this CA. Execute the following command in your CMD.EXE window:
- Echo 01 > ca.serial
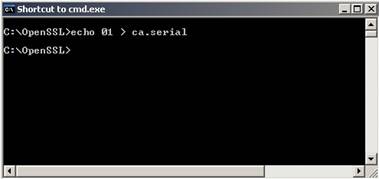
CA.SERIAL Screen 1: Command to create CA.SERIAL
- If you browse to C:\OpenSSL, you should now see a file CA.SERIAL located in that directory.
- Leave your CMD.EXE window open and continue to the next step.
Step 8: Generate a Server Key
The next step is to generate a new server key. This process is similar to Step 2. To generate the server key, execute the following command in your CMD.EXE window:
- C:\OpenSSL\Bin\OpenSSL genrsa –out server.key 1024
Server.Key Screen 1: Successful creation of SERVER.KEY
- If you browse to C:\OpenSSL, you should now see a file SERVER.KEY located in that directory.
- Leave your CMD.EXE window open and continue to the next step.
Step 9: Generate a CSR for the Server Key
After the SERVER.KEY is created, our next step is to generate a Certificate Signing Request (SERVER.CSR). To generate the CSR, execute the following command in CMD.EXE:
- C:\OpenSSL\Bin\OpenSSL req –new –key server.key –out server.csr
- You will be required to fill out the information listed below (see screenshot below):
Country Name (2 Letter Code)
State or Province Name
Locality Name
Organization Name
Organizational Unit Name
Common Name (Your Name)
Email Address
A challenge password (optional)
A optional company name (optional)
Server.csr Screen 1: Successful creation of SERVER.CSR
Step 10: Sign and Create your Server Certificate
Since the SERVER.CFG was created in Step 6, our next step is to generate sign the Server certificate. To accomplish this, execute the following command in CMD.EXE:
- C:\OpenSSL\Bin\OpenSSL x509 –req –extfile server.cfg –days 1825 –signkey server.key –in server.csr –out server.crt (command should be completed without line breaks).
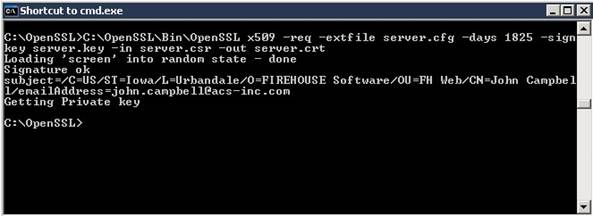
Server.crt Screen 1: Successful creation of SERVER.CRT
- If you browse to C:\OpenSSL, you should now see a file SERVER.CRT located in that directory.
- Leave your CMD.EXE window open and continue to the next step.
Step 11: Copy the CA.CRT, SERVER.KEY, and SERVER.CRT to your desired location on the FHWeb Server and set permissions.
Copy the CA.CRT, SERVER.KEY, and SERVER.CRT to a location on the FH Web server that can be accessed from the System account but cannot be accessed from the accounts of users who will sign into the server. In the example below, C:\BLOB is used as the store.
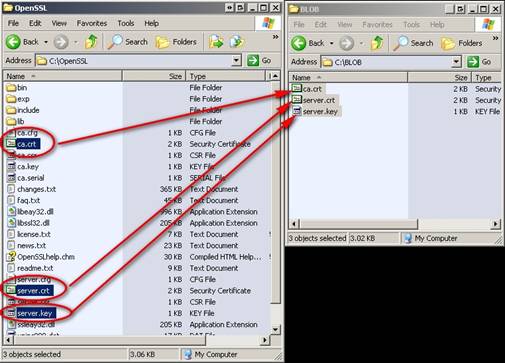
Copy Screen 1: CA.CRT, SERVER.KEY, and SERVER.CRT copied to C:\BLOB
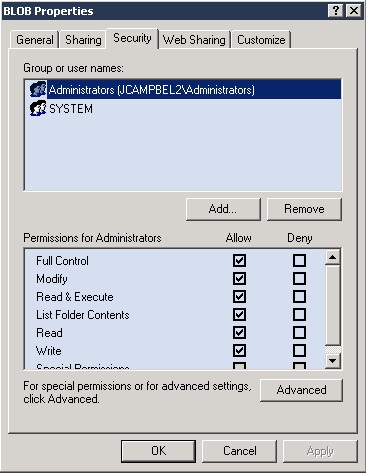
Permissions Screen 1: Only Administrators and System have rights to this location
Step 12: Enable SSL in the FHWEB Edition Connection Manager
Now that an SSL Certificate is available on the FH Web server, we can enable Secure Socket Layer transport in the FH Web Edition Connection Manager and choose the encryption strength.
- Log in locally to the FH Web server
- Open the FH Web Edition Connection Manager
- Select Tools > Server Options
- Select the Security tab
- For ‘Transport:’ select SSL
- For ‘Port:’ enter 491 (unless FH Web server is specially configured to run on another port)
- For ‘SSL Certificate:’ enter the path to Server.Crt specified in Step 11. In our example, C:\BLOB\Server.Crt is used.
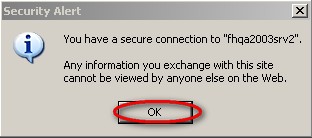
- Check ‘Notify users when connections are secure’ to alert users when they have a secure connection. For this example, the option is checked and will produce the MsgBox in Step 15.
- For ‘Encryption:’ select 56-bit DES.
NOTE: When SSL transport mode is selected, the following encryption algorithms are also available: 128-bit RC4, 168-bit 3DES, and 256-bit AES. A special license is required to use these algorithms.
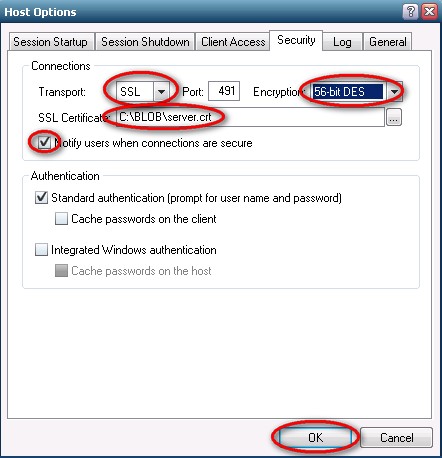
- Click OK
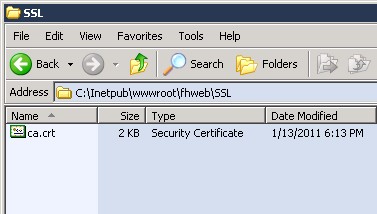
Step 13: Publish the CA.CRT via FH Web
Copy CA.CRT to a location published by FH Web. In this example, the CA.CRT is placed in C:\Inetpub\wwwroot\FHWeb\SSL\CA.CRT
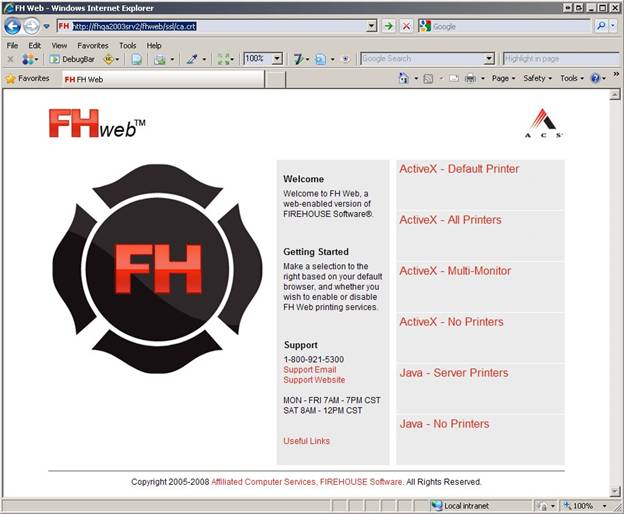
Step 14: Install the CA.CRT as a Trusted Root Certification Authorities
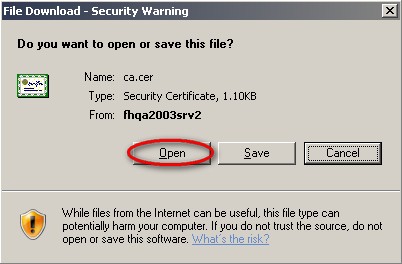
- In our example, the CA.CRT from the previous step can be downloaded from http://SERVERNAMEorIPADDRESS/FHWEB/SSL/CA.CRT
- On the ‘File Download Security Warning’ form, click Open
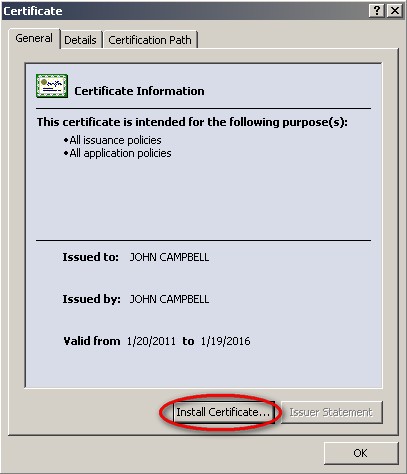
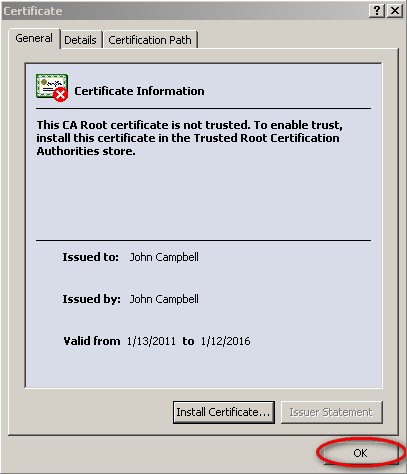
- On the ‘Certificate’ window, click Install Certificate…
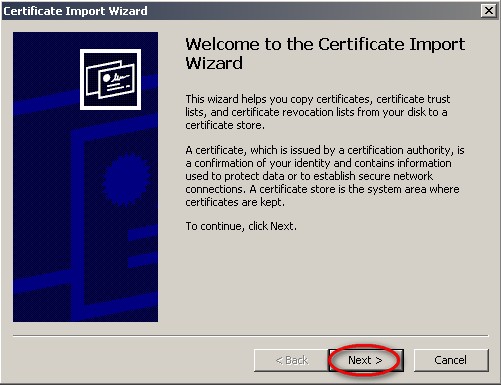
- On the ‘Certificate Import Wizard’ window, click Next >
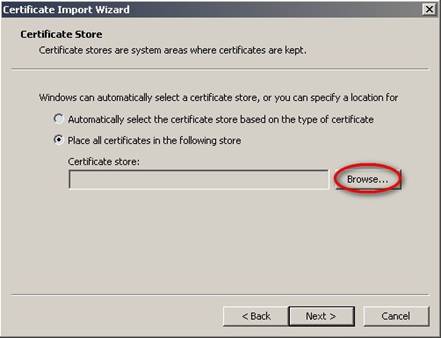
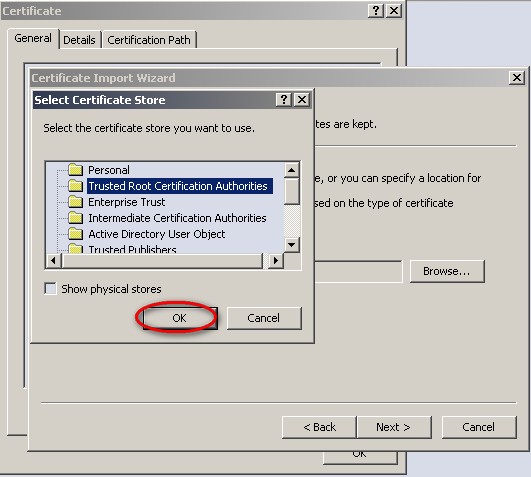
- On the ‘Certificate Import Wizard’ window, click Browse…
- On the ‘Select Certificate Store’ window, click OK
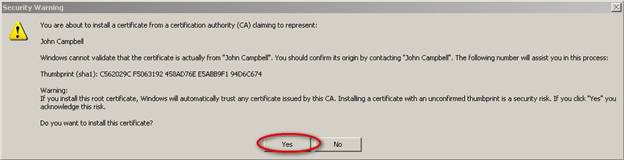
- On the ‘Security Warning’ window, click Yes
- On the ‘Certificate Import Wizard’ window, click OK
- On the ‘Certificate’ window, click OK
- Launch http://SERVERNAMEorIPADDRESS/fhweb/fhstart.html
- On the ‘Security Alert’ window, click OK
Step 15: Test Your Connection
If the connection is securely encrypted and you checked the option to ‘Notify users when connections are secure’, you will be rewarded with the message below. Please note the server name listed in quotation marks will be different.